How I Improved My Dry Skin With Pure Aloe Vera
Posted by Karen Bishop | 18 Comments

I’ve struggled with dry skin for a little over a year now. Mainly due to a vitamin deficiency (which is currently healing) but I also blame Mother Nature since she refuses to let winter go. Like really, it’s April and it snowed outside. Geez!
We all know it’s difficult to keep our skin moisturized during the winter. The dry air, the fluctuating temperature and use of central heat while we sleep, all contribute to suffering from dry skin.
To help keep my skin hydrated, I do two things: I wash with Pure Castile Lavender Soap (Dr. Bronner’s) and moisturize with Coconut Oil (Dr. Bronner’s, organic, virgin) or Shea Butter (grade A, unrefined, organic) on a daily basis. During the winter months, I combine both the coconut oil and shea butter to seal in as much moisture as I can. I’ve also made it a point to drink at least 4-5 bottles of water to help hydrate my body. Okay, so, that’s three things. But it’s nothing too complicated or exceptionally different. The simple routine worked and my skin would stay relatively soft (for the better part of a day).
A few months ago, I’ve noticed that certain parts of my body would be completely dry and tight after a couple of hours. My little two-step process wasn’t enough. It was time to try something new. Not sure what that something new would be, I did know that I didn’t want to add another natural oil or butter just yet.
Then it dawned on me. Aloe Vera! How could I forget? I mean, Aloe Vera is known as the plant that heals and soothes the skin.
ALOE VERA AT HOME
Growing up, I could always find a thick piece of Aloe plant sitting in our kitchen. My mother used Aloe for just about everything: to wash our hair, heal cuts and take the gel internally to “Clean our blood” as she would say.
My mother would force me to take things like Aloe “because it was good for us.” I would constantly roll my eyes (without her knowing of course) because like most teenagers, I didn’t think my parents knew much about anything. But I listened to them anyway. Little did I know, years later, the world would live by all things natural and plant-based.
USING ALOE VERA
Later that day I bought a small piece of the plant to use after my shower,
- I cut the Aloe in half, scraped out the gel from the insides of the plant and put it in my blender for a few seconds.
- I took a small amount and applied it lightly over the driest parts of my body and let it sit for a minute. I put the rest in the fridge to stay fresh and didn’t keep a batch more than a few days.
- I applied the coconut oil and shea butter mixture as I did before and waited.
- I repeated the same steps for a few weeks; Aloe Vera, then coconut oil and shea butter mixture every day and night.
There was a difference! My skin was softer for a longer period of time during the day. I noticed my problem areas weren’t as dry even from the night before. Applying the Aloe Vera allowed my skin to hold in the moisture much longer.
REASONS WHY ALOE VERA WORKS
- Aloe Vera gel is light and non-greasy. It won’t clog up your pores.
- Aloe Vera is made up of large quantities of water. This is what helps to hydrate your skin.
- Aloe Vera has approximately 75 nutrients, minerals and vitamins (combined) which all help to heal and moisturize your skin.
- Aloe Vera, natural oils, and butter all have healing properties. When you combine them together it can act as a healing agent.
Now, if I can only get back to eating the Aloe Vera gel raw. I’m sure it would do wonders. Ugh!
How about you, have you used Aloe to heal your skin?
xo

A Sweet Batch of Bites: Raw Dates, Walnuts And FlaxSeeds
Posted by Karen Bishop | 9 Comments

When March Break comes around not only do you have to keep your kids entertained, you have to keep your kids fed more often than usual.
Wait. That may sound bad.
What I mean is, they are constantly snacking on everything. At school, they are occupied, busy, and you’d be lucky if their lunch comes back half-eaten. When they’re home all day, they eat.
While my son enjoyed his (version of the perfect) vacation with endless beverages, snacks and uninterrupted PS4 playtime, I did my best not to give Lay’s BBQ Chips all of our money and try our simple version of healthy snack bites.
Another 20 minutes or less healthy snack recipe I hope you enjoy!
___________________________________________________________
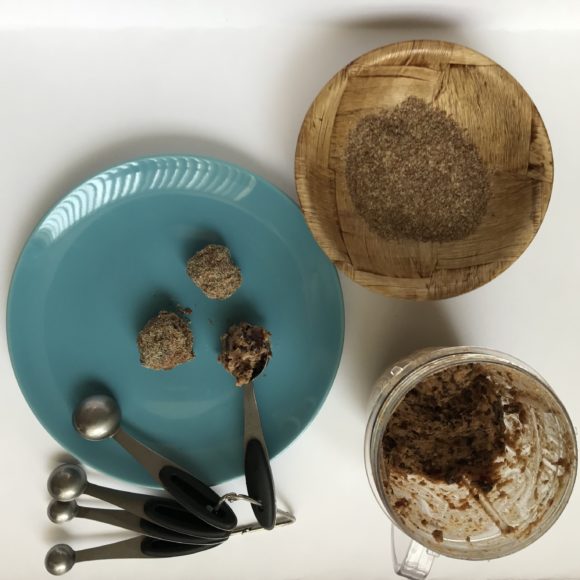
Raw Dates, Walnuts And FlaxSeed Bites
PREP TIME: 20 minutes
COOLING TIME: 20 minutes
INGREDIENTS:
1 cup (250 ml) of dates (or use figs as an alternative)
1 cup (250 ml) of crushed walnuts
1 teaspoon (5 ml) of ground flaxseed (placed in a small bowl)
1 tablespoon (15 ml) of ground flax seed for rolling/topping
INSTRUCTIONS
– Remove the seeds (if any) and cut up the dates and place them in a blender
– Crush up the walnuts and place them in the blender
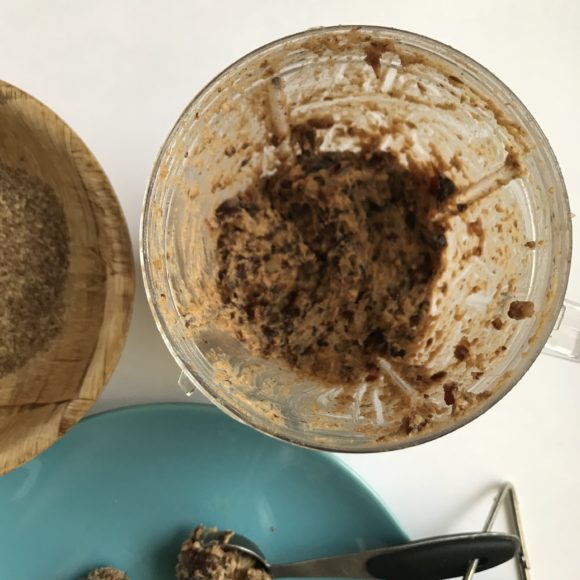
– Blend together and once the mixture forms a peanut butter-like texture, make a small ball using your hands and place in the small bowl filled with ground flax seeds.
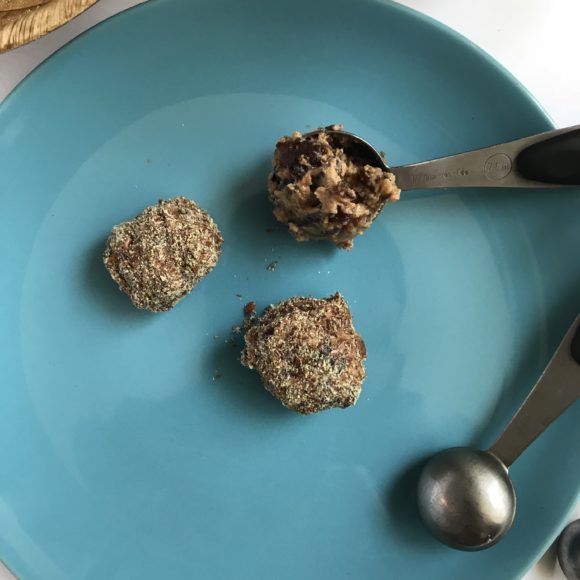
– Roll each ball in the flax seed
– Place the balls in the refrigerator for at least twenty minutes to harden.
The mixture can make approximately ten bites. They have a quite rich taste, I couldn’t eat more than two at a time.
Enjoy!
Read More
Five Things I’ve Learned About Worrying And Why It Really Doesn’t Help
Posted by Karen Bishop | Leave a Comment

Photo: www.nappy.co
Over the years I’ve been told that I worry too much. Especially, when I was younger. As I get older, I’m much better at taming that worrying beast. I think worrying is natural, especially being a mother. When you’re responsible for someone’s life, it’s more than likely you’ll worry about them. Your mind is constantly trying to confirm if you’re actions as a parent is right or wrong. Life naturally causes us to worry about bills, our families, being successful and just about anything you can think of.
It requires a different way of thinking to change how you deal with worry and worrisome situations. It takes time and maturity for the most part. As you grow and gain different life experiences, you realize worrying really doesn’t help you. There’s no benefit to it. You get better at learning not to sweat the small stuff, deal with the big stuff and you gradually figure out what is truly important. Some people do breathing exercises, others are great with self-talk.
Here’s what I’ve learned about myself when I worry,
- It causes stress and stress can affect my health. Without my health, I’m no good to myself or anyone else.
- At no time has worrying helped my situation. Not one time!
- The faster I am able to calm my emotions, I can use my brain power to figure out a solution. I actually spend less time worrying.
- Pray about it. If you believe in a higher power like I do, just leave it with him, her or the universe (or whatever). An answer will come. It may not be the way you expect but a solution will appear none-the-less.
- Worrying clouds my judgment. So keeping calm helps me think clearly.
The reality is, some people worry more than others. Like I said, I am naturally a worry wart but it’s getting better. For the most part, it’s easier said than done to tell yourself, “Stop, think logically and do not let this stressful situation get to you.” Changing our mindset sometimes requires a bit of advice or guidance on how to do it. Through my life experiences, I’ve been able to deal with worrying a lot less. I’ve also learned a few tips and tricks from the book “How To Stop Worrying And Start Living.”
There are too many tips to list but here are my top three,
1. One grain of sand at a time, one task at a time. I know we’re told that multi-tasking is a great skill to have but you simply can’t do two things at once. Well, at least not effectively.
2. Let’s be content to live the only time we can possibly live: for now until bedtime.
3. Discover the worst that could possibly happen, accept it and then use your time to improve upon the worst.
Worrying sucks just like any negative emotion we feel but if we can tackle it on head-on, I truly believe we’ll live a much longer, healthier life.
Disclosure: This post may contain affiliate links, which means we may receive a commission if you click a link and purchase something that we have recommended. Clicking these links won’t cost you any extra money.
Read MoreRecipe: Gluten-Free Cacao Cranberry Loaf
Posted by Karen Bishop | 1 Comment
I’m not a lover of cooking. I mean, I don’t like long prep times to prepare meals. If I can spend less than 20 minutes in the kitchen to make a meal, I’m all for it. Anything beyond that, I get a bit antsy. Okay, I’m exaggerating a little (not really) Christmas breakfast took me at least one hour to prepare. Not including the slow baked ham. So the holidays are an exception.
It’s a new year and with a new year comes new goals. My number one goal is to keep to a solid healthy eating routine. I don’t mean simply minimizing the amount of bad food that I eat but really making an effort to cut them out of my diet permanently. My number one priority is to eliminate all gluten.
In general, I’m conscious of what I eat. I very rarely eat white flour, drink pop, or fried foods. I drink lots of water, not always a full 8 glasses but I get up there. I do occasionally have a sugar and bread binge but eventually I get back on track. Since being gluten-free is my priority and snacking tends be a weakness, I’ve decided the best way to control my gluten intake (especially when I crave sweets) is to make my snacks from scratch. I’m not sure how long the Betty Crocker effect will last. Remember, I’m not one for slaving away in the kitchen for too long. But at least, I can feed my occasional craving in a fairly healthy way.
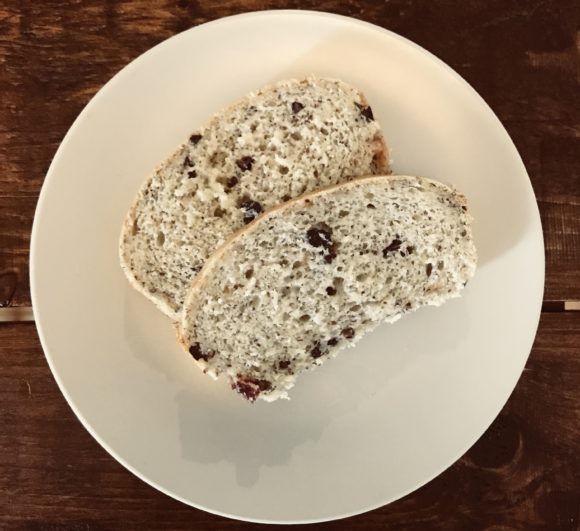
Enter in my gluten-free-cacao-cranberry loaf….
A personal recipe inspired by whatever I had sitting in my kitchen cupboard (mostly). It was only my third time making the loaf but it’s been a life saver for breakfast or as a quick snack. And the best part is it only takes 20 minutes to prepare. Like I said, 20 minutes or less and I’m a happy camper!
Bon Appétit!
________________________________________________________________
PREP TIME: 20 minutes or less
COOKING TIME: 30 – 40 minutes
INGREDIENTS:
1 cup of gluten-free flour
1 cup of brown rice flour
1/4 cup of flax meal
1 tablespoon of baking soda
1/2 cup of organic cane sugar (1 cup if you want a sweeter taste)
1/4 cup of organic cacao bits
1/4 cup of cranberries (fresh, frozen)
2 1/2 cups of Almond milk (3 cups if you want to make the batter a bit thinner)
1 tablespoon of coconut oil
1/2 tbsp of nutritional yeast
INSTRUCTIONS
Mix the brown rice flour and gluten-free flour in a large mixing bowl with a fork. Then mix in the baking soda, nutritional yeast, flax meal, again continue to use the fork. Then mix in the cane sugar.
Once all of the dry ingredients are mixed together, add the milk, cocoa bits and cranberries and then mix everything together one last time. Let it sit for a few minutes and dust a bread pan or cake pan with a bit of flour and pour in the mixture. Put in the oven.
Let bake for 30 minutes or until brown at 275 – 300 degrees. To ensure the middle is cooked insert a butter knife or toothpick in the centre of the cake. If it comes out clean with nothing sticking, the cake is done.
Read More
All Things Natural At The Textur’d Hair And Beauty Show
Posted by Karen Bishop | Leave a Comment
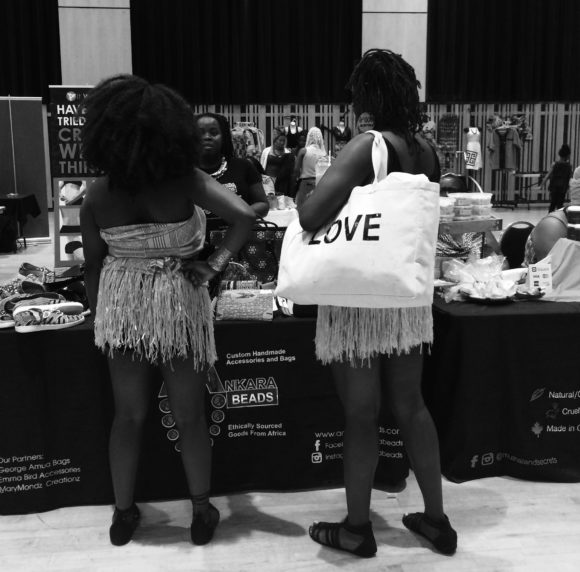
I’ve worn my hair naturally mostly under protective hairstyles for a few years now. It just made things easier. But easier isn’t always better if you let a busy schedule and a non-existent hair care routine get in the way. If your natural hair isn’t getting TLC on a regular basis it will take a toll on the health of your hair. Let’s just say, my hair is in need of TLC, a good hair care routine and a few good products to match. Coincidently, timing couldn’t be better. The Textur’d Natural Hair & Beauty Show was happening right in my neck of the woods and I was able to catch day 2 of the event.
With over forty (mostly female) vendor’s, I looked forward to chatting it up with hair and beauty brands from Toronto and the United States. It was hard just to choose just one item from the variety of organic, vegan and naturally handmade products available. Almost all of the brands had a solution to maintain, repair and encourage healthy hair growth.
Not just a vendor showcase, several workshop facilitators shared their unique knowledge on everything to do with natural hair, body and skin care. Nutritional Consultant, Trisha Smith, discussed natural remedies and the connection between digestive disorders and the various effects on the hair. Certified Shea Butter Technician, Kedar Waterman, discussed the many healing properties of premium grade Shea Butter and it’s benefits.
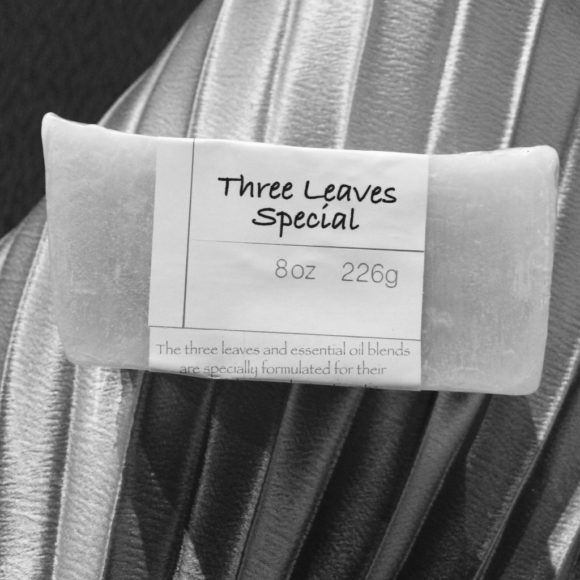
I ATE whole wheat roti, coconut curry chickpeas and quinoa salad courtesy of Chic Peas Veg, a plant based catering company. I CHATTED with Ndija Anderson-Yantha, a natural hair advocate and author of “What are you going to do with that hair?” A non-fiction book encouraging young girls to celebrate and love their natural hair. And I BOUGHT, (with so many wonderful products to choose from) En’tyce Your Beauty’s Herbal Temple Root Gro to help with thinning edges. And Muthaland Secrets’ Three Leaves Special Body Bar to help tone and purify your skin. It was a great afternoon fill with positivity and love for all things natural!
My haircare brands wish-list to definitely try,
- Up North Naturals
- Flawless by Gabrielle Union
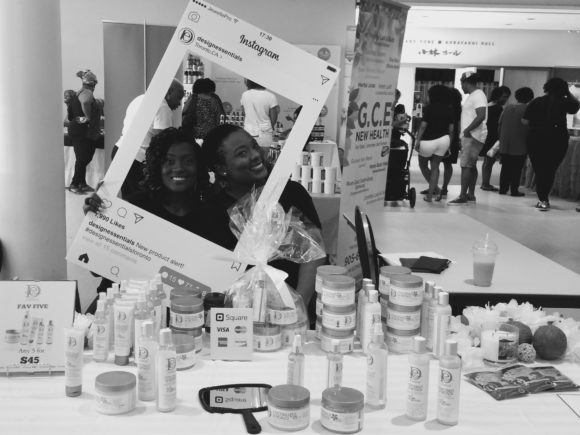
- Design Essentials
- London Ivy Products
What do you use in your natural hair?


Read More